

Papiroflexia: La flor
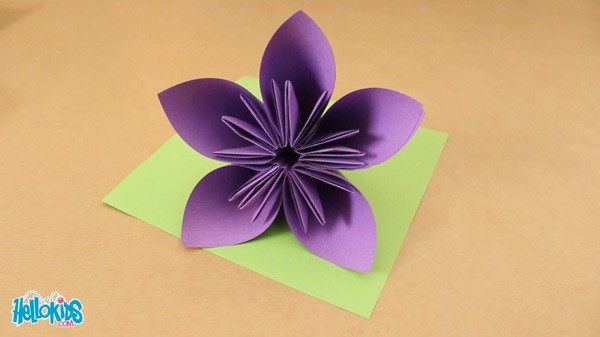
En este tutorial, vamos a enseñarte cómo se hace la flor kusudama. Es un tipo particular de origami que se compone de varias papiroflexias pegadas entre sí. En este vídeo hemos hecho 5 papiroflexias para pegarlas y hacer este flor origami.
Material necesario
- Cinco hojas de papel cuadradas
- Pegamento
Pasos para hacer la flor origami
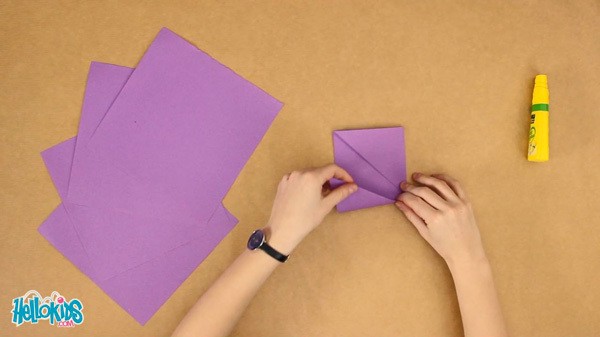
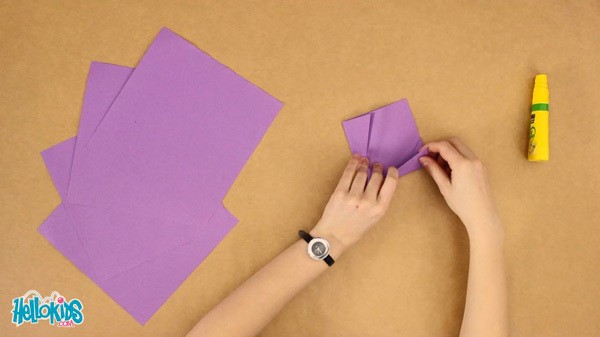
- Empieza por plegar la hoja en dos en el sentido de la diagonal para obtener una flecha que puedes dirigir hacia arriba.
- Pliega las puntas de la derecha y de la izquierda sobre la punta de la flecha.
- Pliega estos pliegues a lo largo del lado izquierdo y derecho.
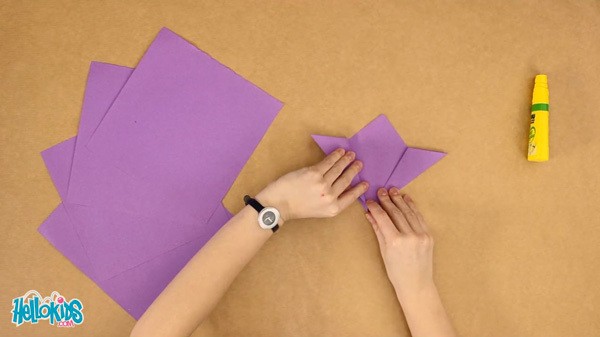
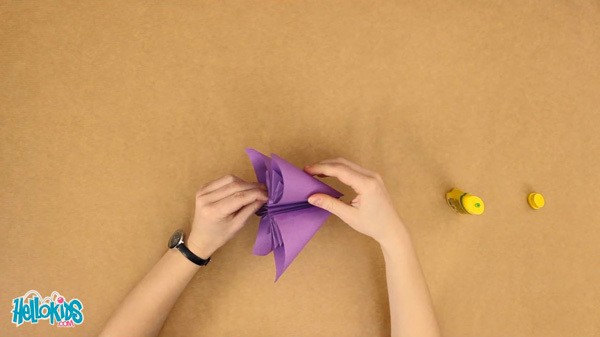
- Ahora tienes dos pliegues sobre el exterior. Ábrelos y aplástalos. Tienes dos especies de rombos en los lados con una línea en el centro.
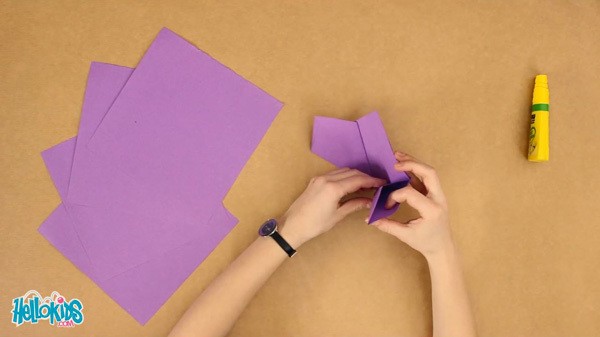
- Pliega la punta alta de estos rombos hasta el interior. Ahora tienes dos triángulos todavía con una línea-pliegue en el centro.
- Pliega estos triángulos a lo largo de esta línea-pliegue.
- Obtienes dos triángulos rectángulos que vas a pegar entre sí enrollándo el origami.
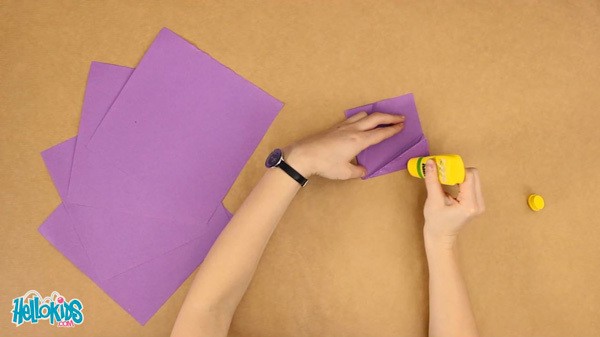

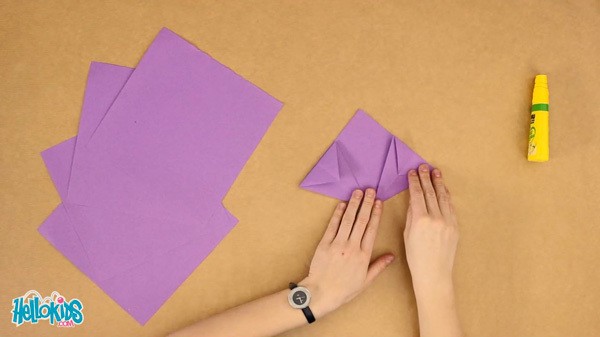
- Presiona los dos triángulos. Ahora tienes un cono con tres ramos adentro.
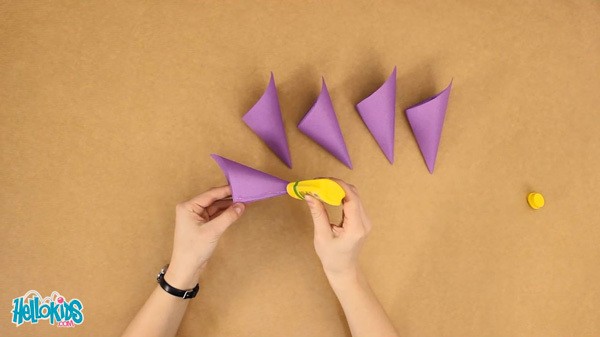
- Haz todos estos pasos otra vez con las otras hojas.
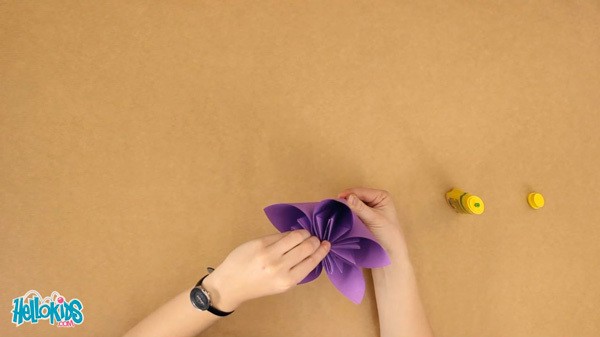
- Ahora que tienes 5 conos, puedes pegarlos entre sí. A lo largo del pliegue, pon una línea de pegamento y pega un cono sobre esta. Haz esto para todos los conos.
- ¡Arregla la flor y ya está! Haz hecho esta papiroflexia más bonita.
Esta kusudama flor es una decoración muy original, puedes cambiar el color y el tamaño. Aún puedes pegar varias flores entre sí. Mira el vídeo atentamente y ya verás que este origami es muy fácil.

Suscríbete y únete a nuestro canal de vídeos para niños en Youtube: http://bit.ly/20IQovi